Do you remember playing this game as a child? Most of us were exposed to some form of memo lotto. I remember having two or three sets—one of them with photos of wild animals. I absolutely loved wild animals, and it brings back so many childhood memories.
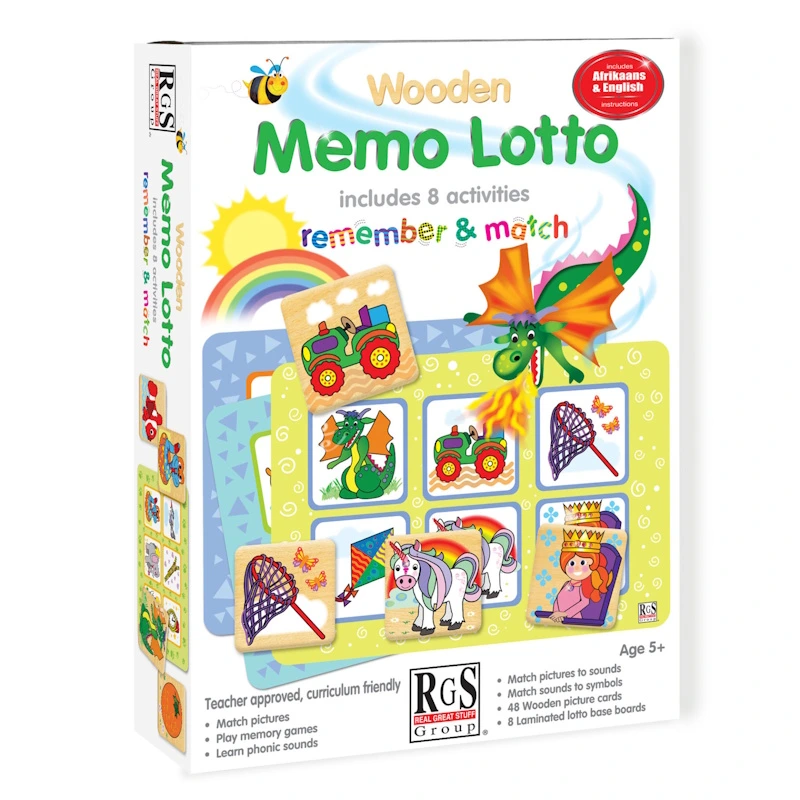
The charming pictures of the RGS set will captivate any little one’s interest. Looking back at my old set (which I still have), the colours seem quite dull now—but I still love the animals.
Playing this game encourages children to really pay attention and stay focused for longer periods. This helps strengthen their attention span, which is such an important skill for learning later on. As they play, children match pictures to the board in front of them, using their memory to remember where each card is.
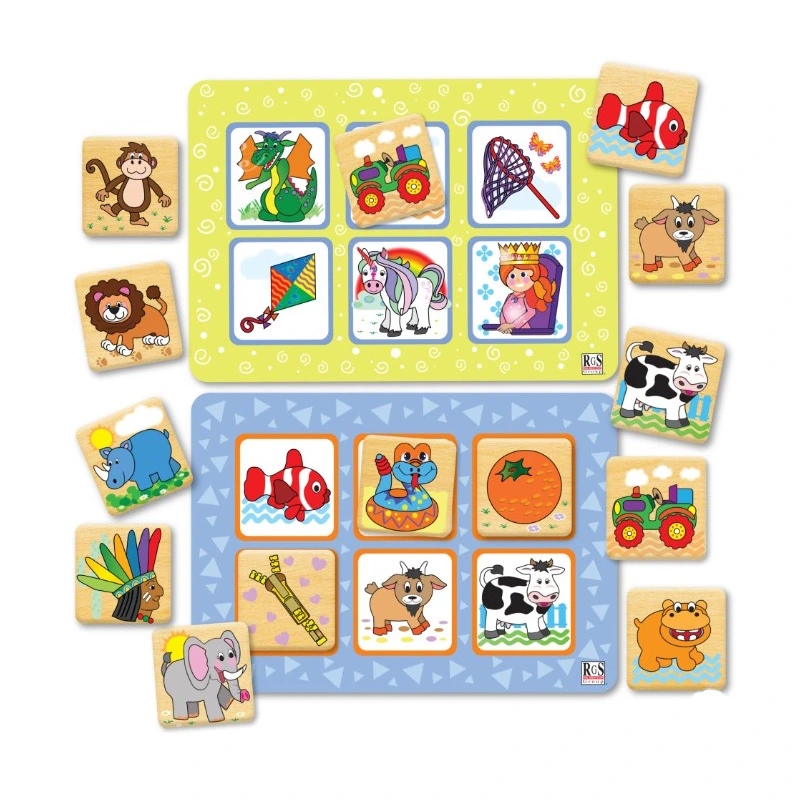
The more players there are, the longer they need to stay focused while searching for the right match. Parents can also use this as a fun way to build vocabulary. When a child finds a matching card, you can ask them to name the object on the picture card before placing it on their board. It feels like play—but there’s plenty of learning happening too.
Level up!
I also like to think of extra ways to use games like this beyond their original purpose. The picture cards are especially helpful for developing language and vocabulary skills. Try placing a card at eye level near a doorway using prestik. Each time your child walks through, they can touch the card and say the word out loud. For example:
|
|
|
apple | cow | kite |
Even when you’re not actively playing with them, they can still learn independently while walking around in the house. Change the pictures regularly to keep things fresh and encourage observation. If you’d like your child to learn another language, you can turn this into a bilingual activity—saying the word in Afrikaans or any other language.
Enjoy the journey of learning together at home. Playing board games and loving the quality family time, it doesn’t matter who wins or loses. What matters is the connection you build, along with the teamwork and social skills your child develops along the way.