Introduction-
Copic Markers are often showcased as a dream art supply, and for good reason. It is an art supply that young artists stare at longingly on store shelves and a go-to marker that professional artists reach for on their YouTube channels. However, with a high price tag and a big reputation, how should you get started with Copic Markers? This short guide aims to help beginners find a place to start. This guide also contains free resources, including a practice card to learn basic techniques and a free swatch card.
Swatch Cards-
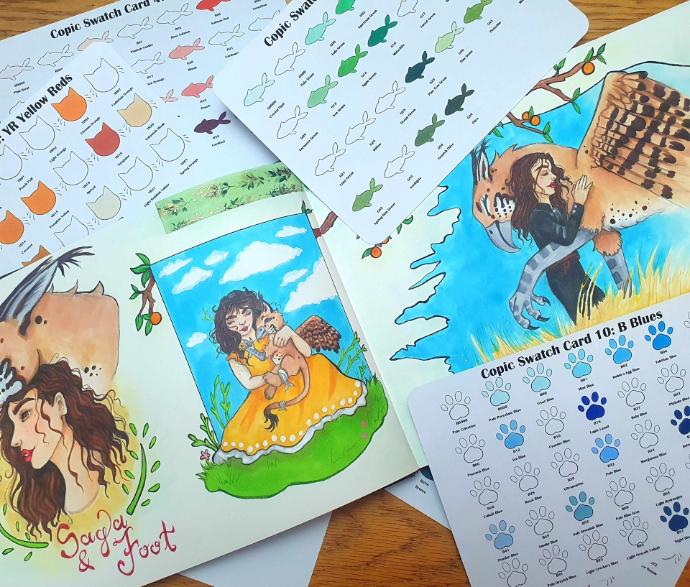
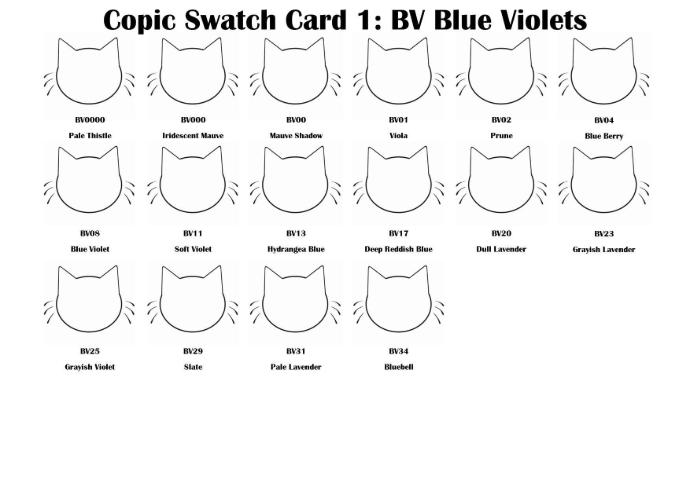
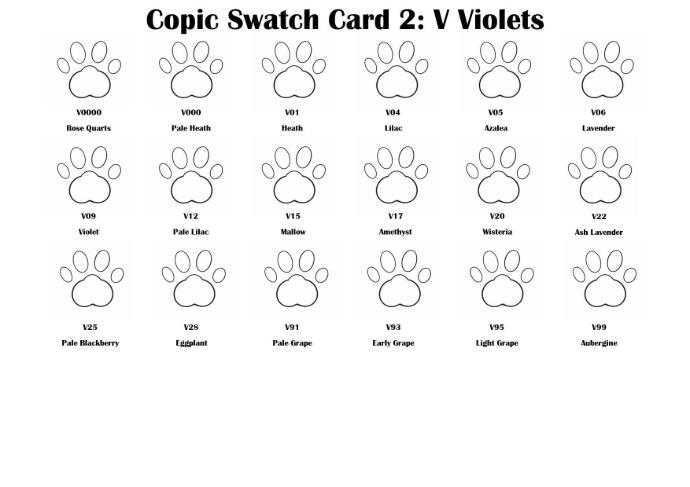
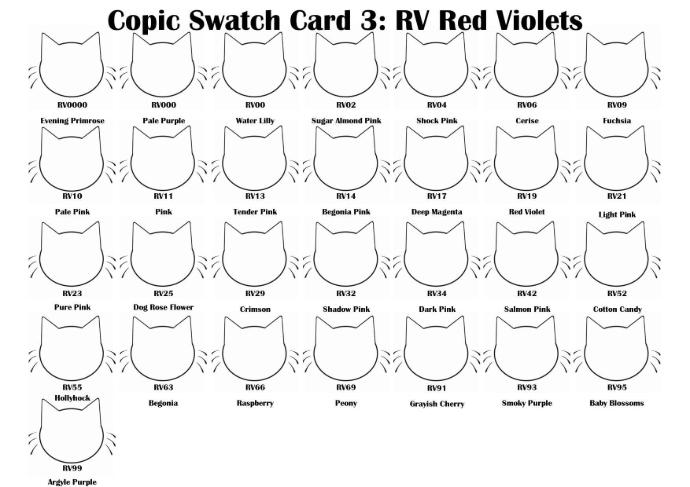
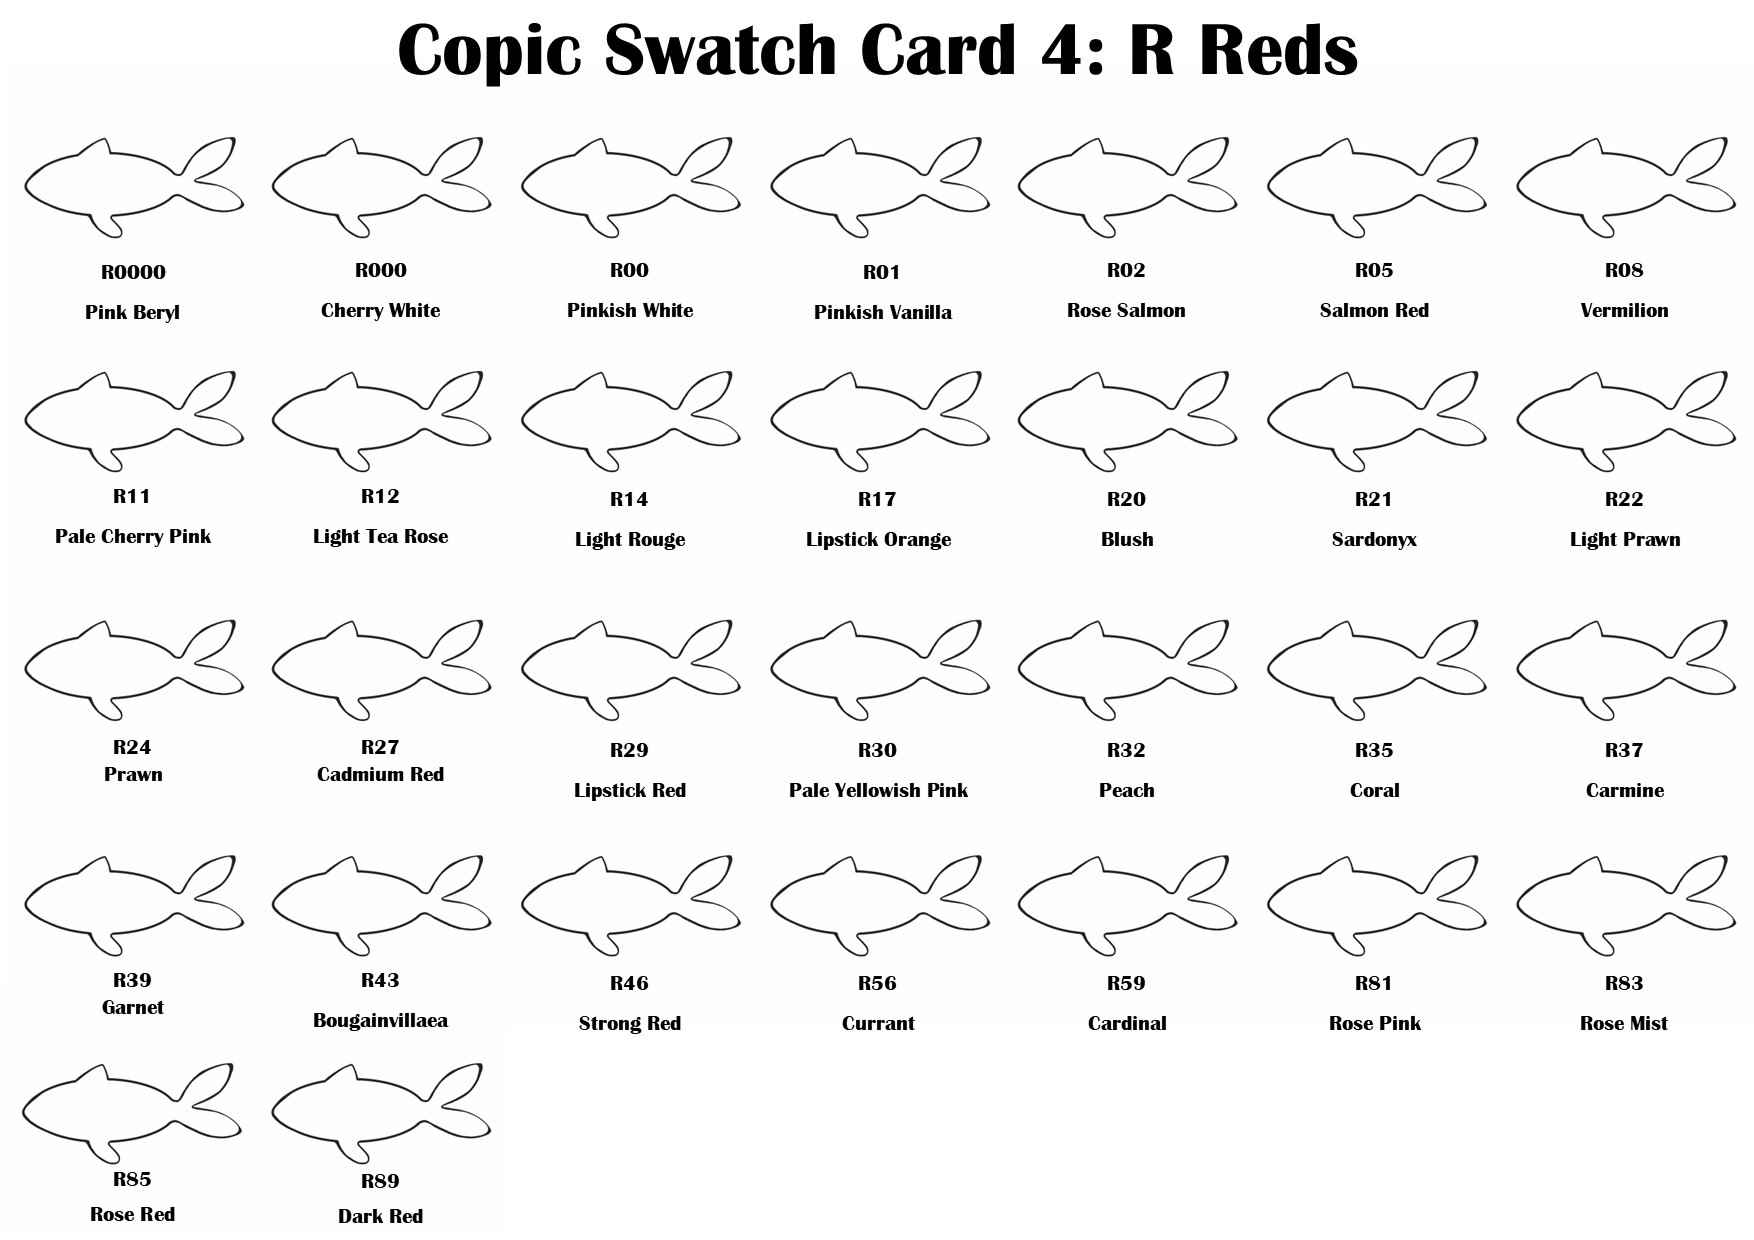
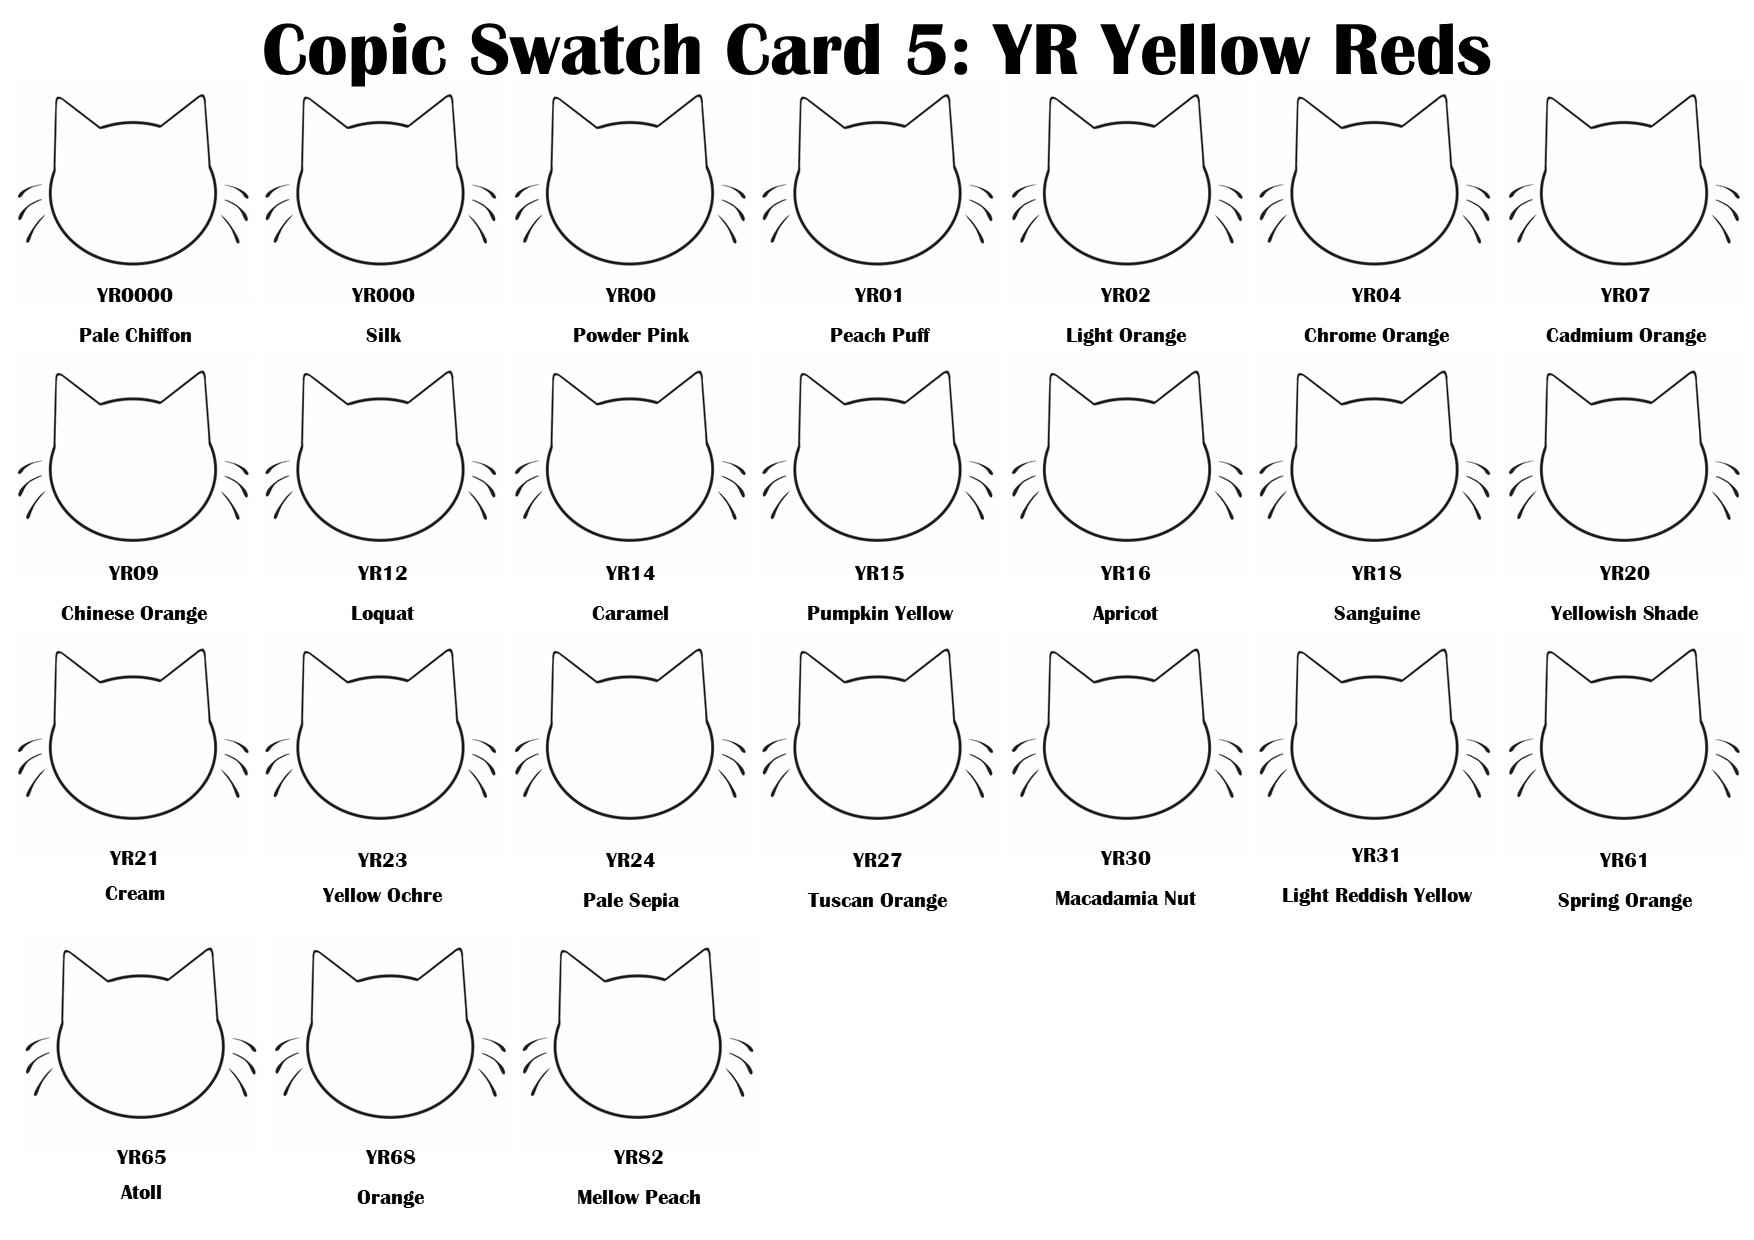
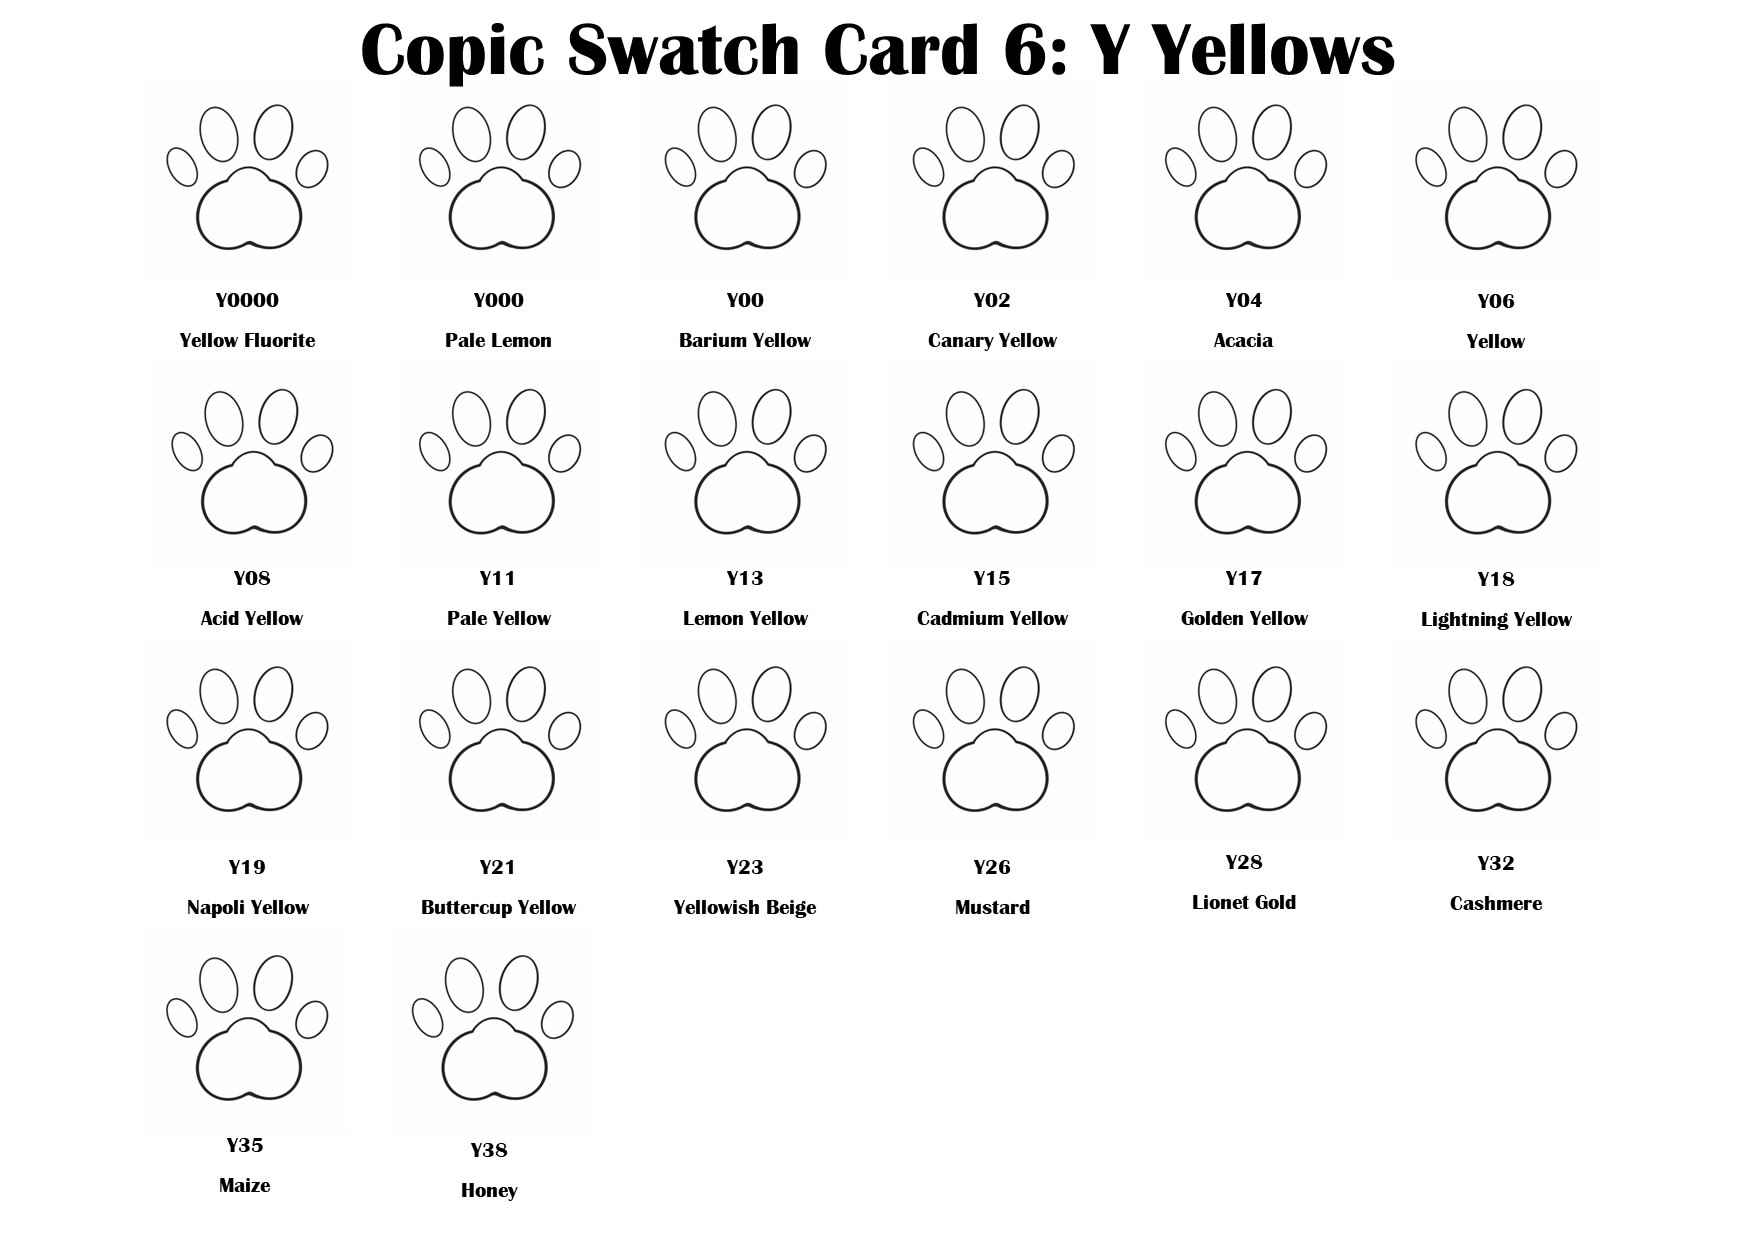
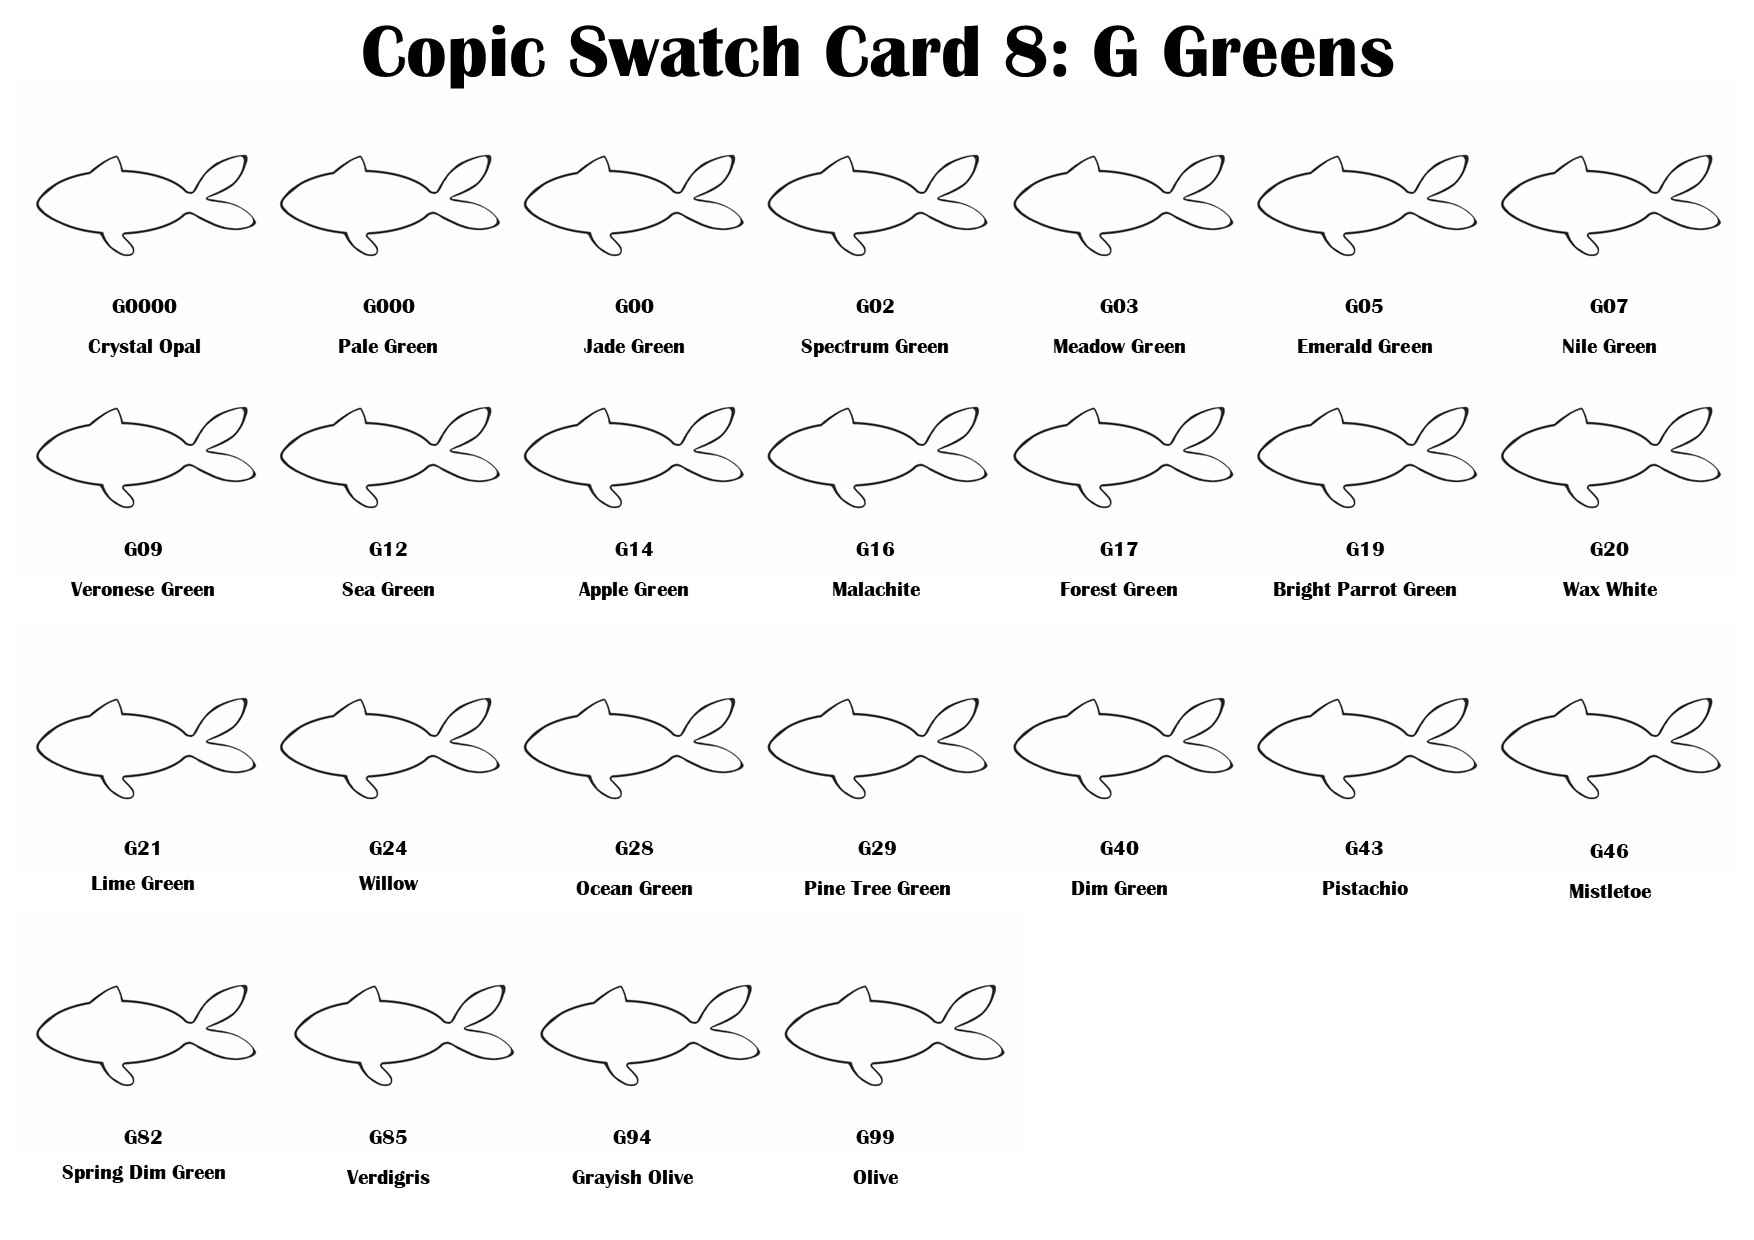
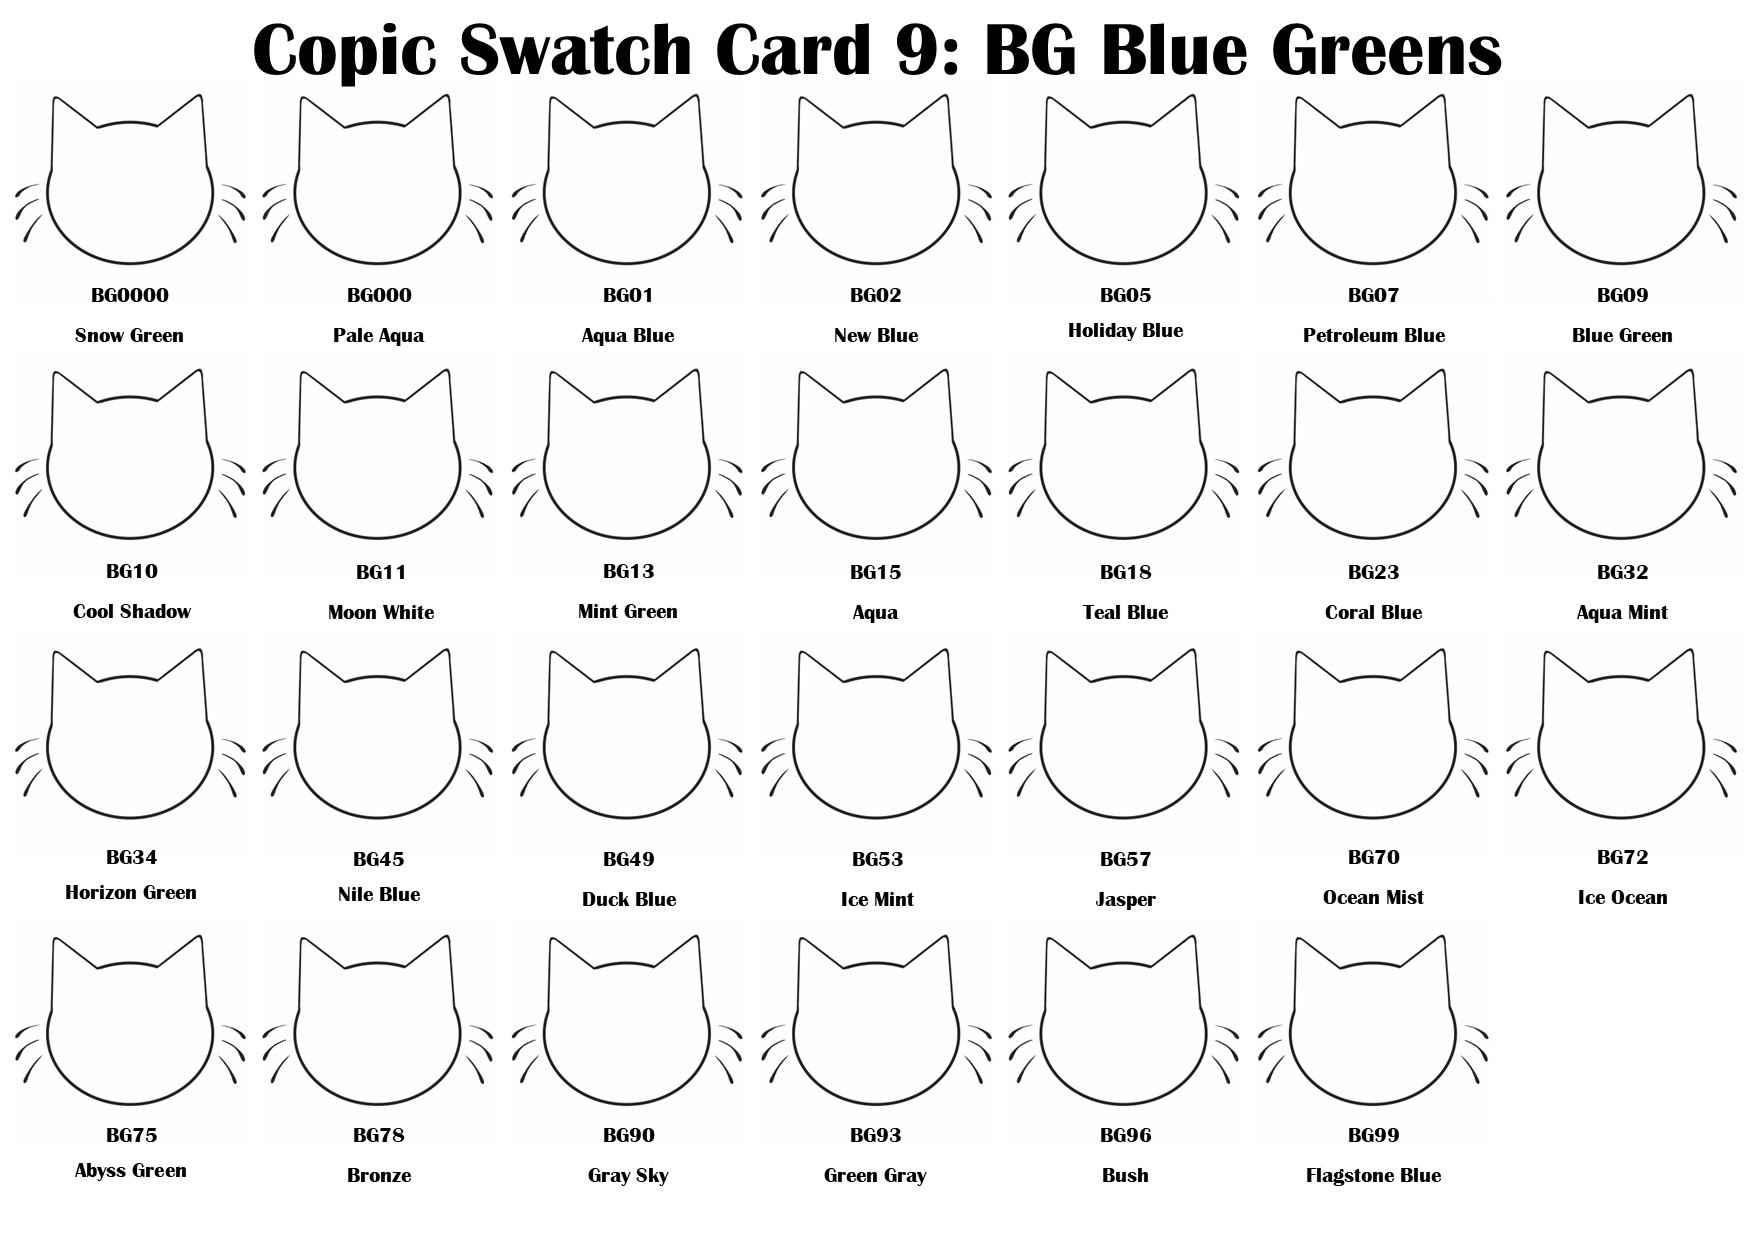
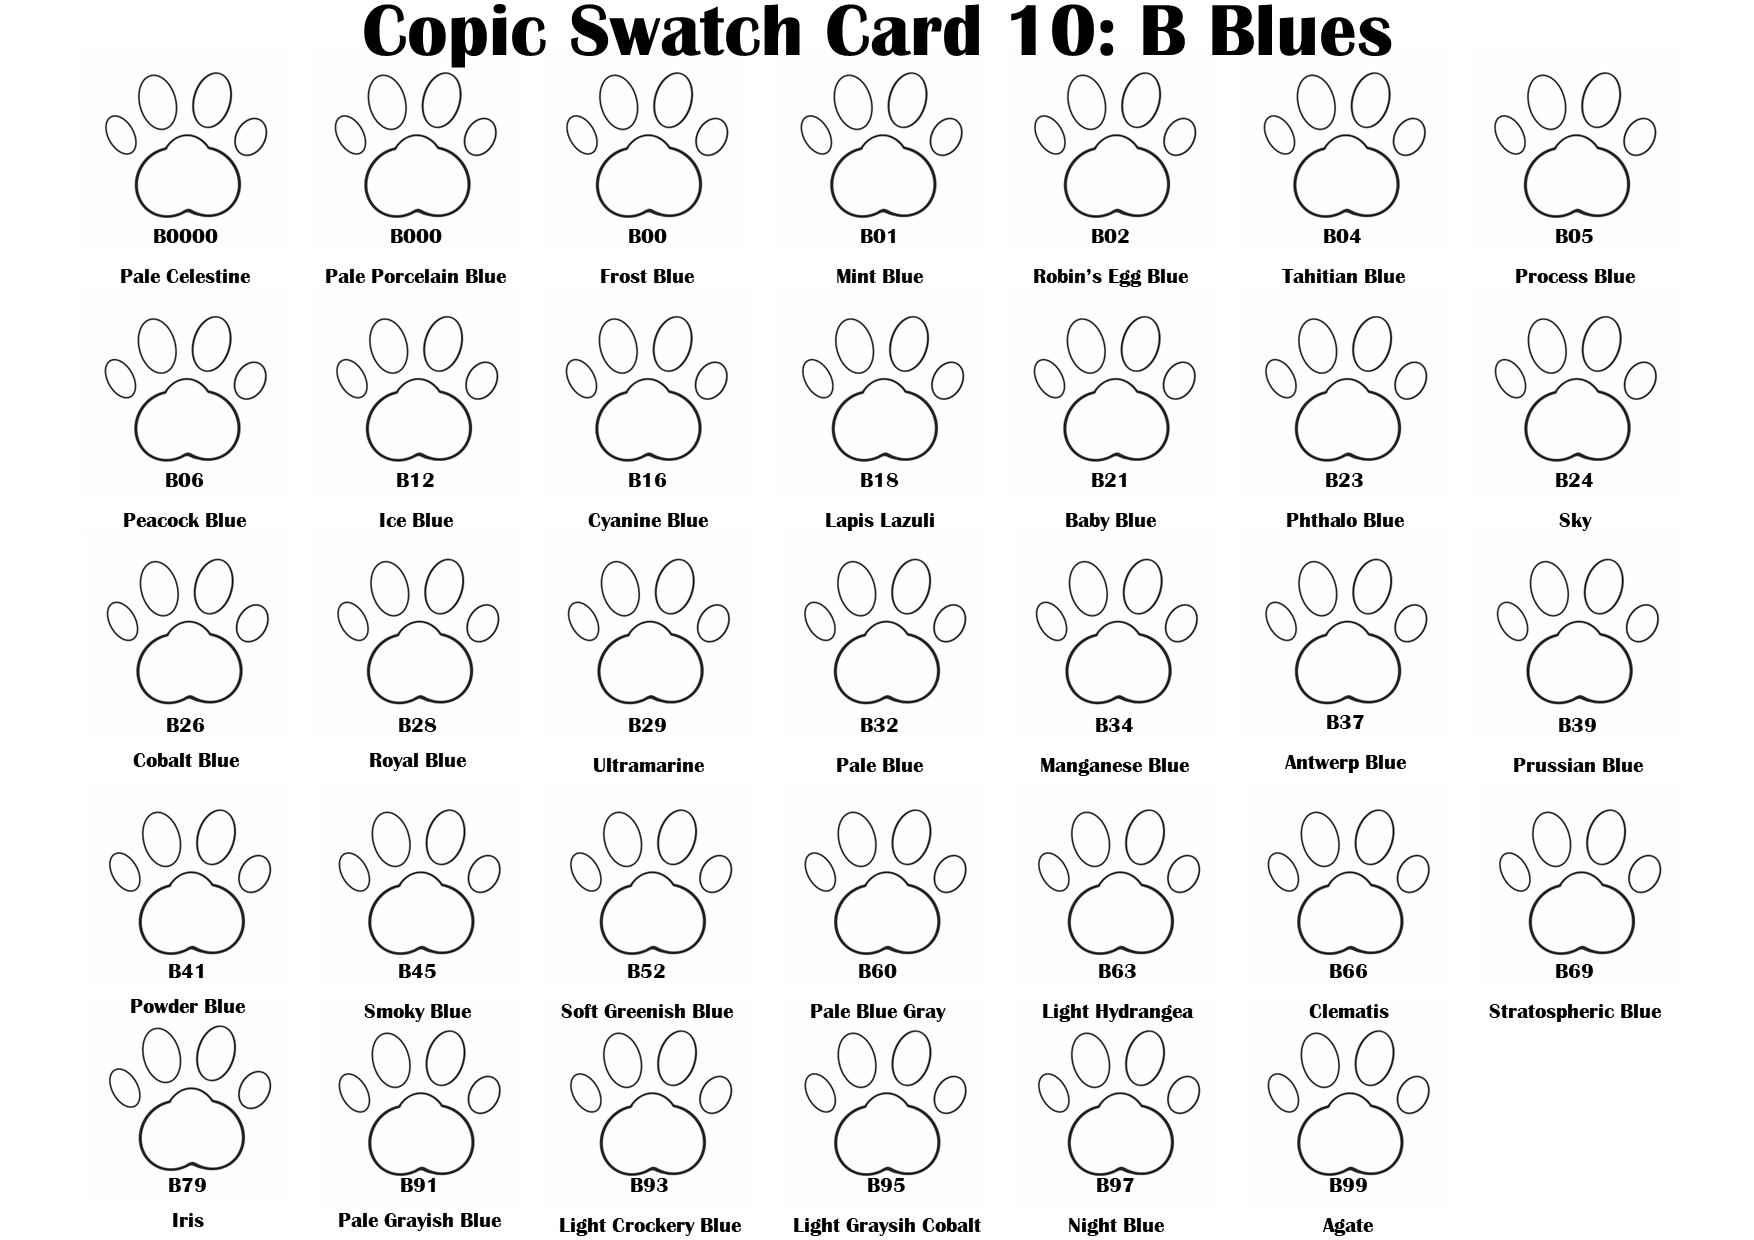
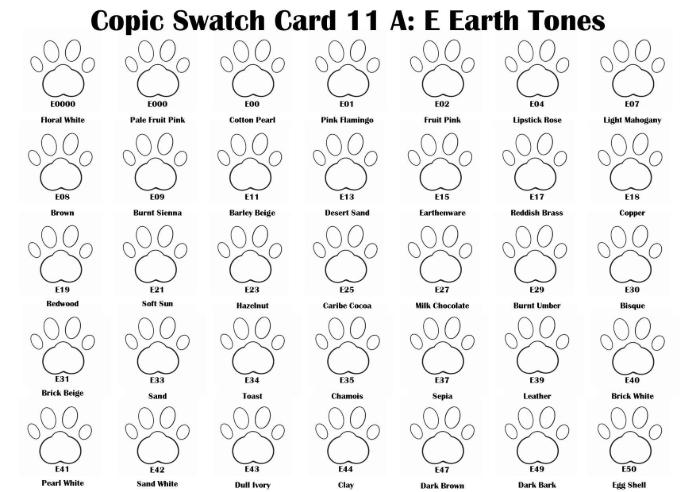
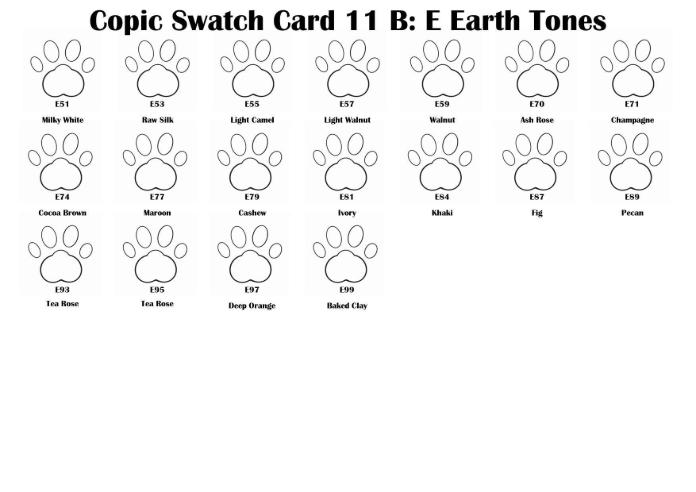
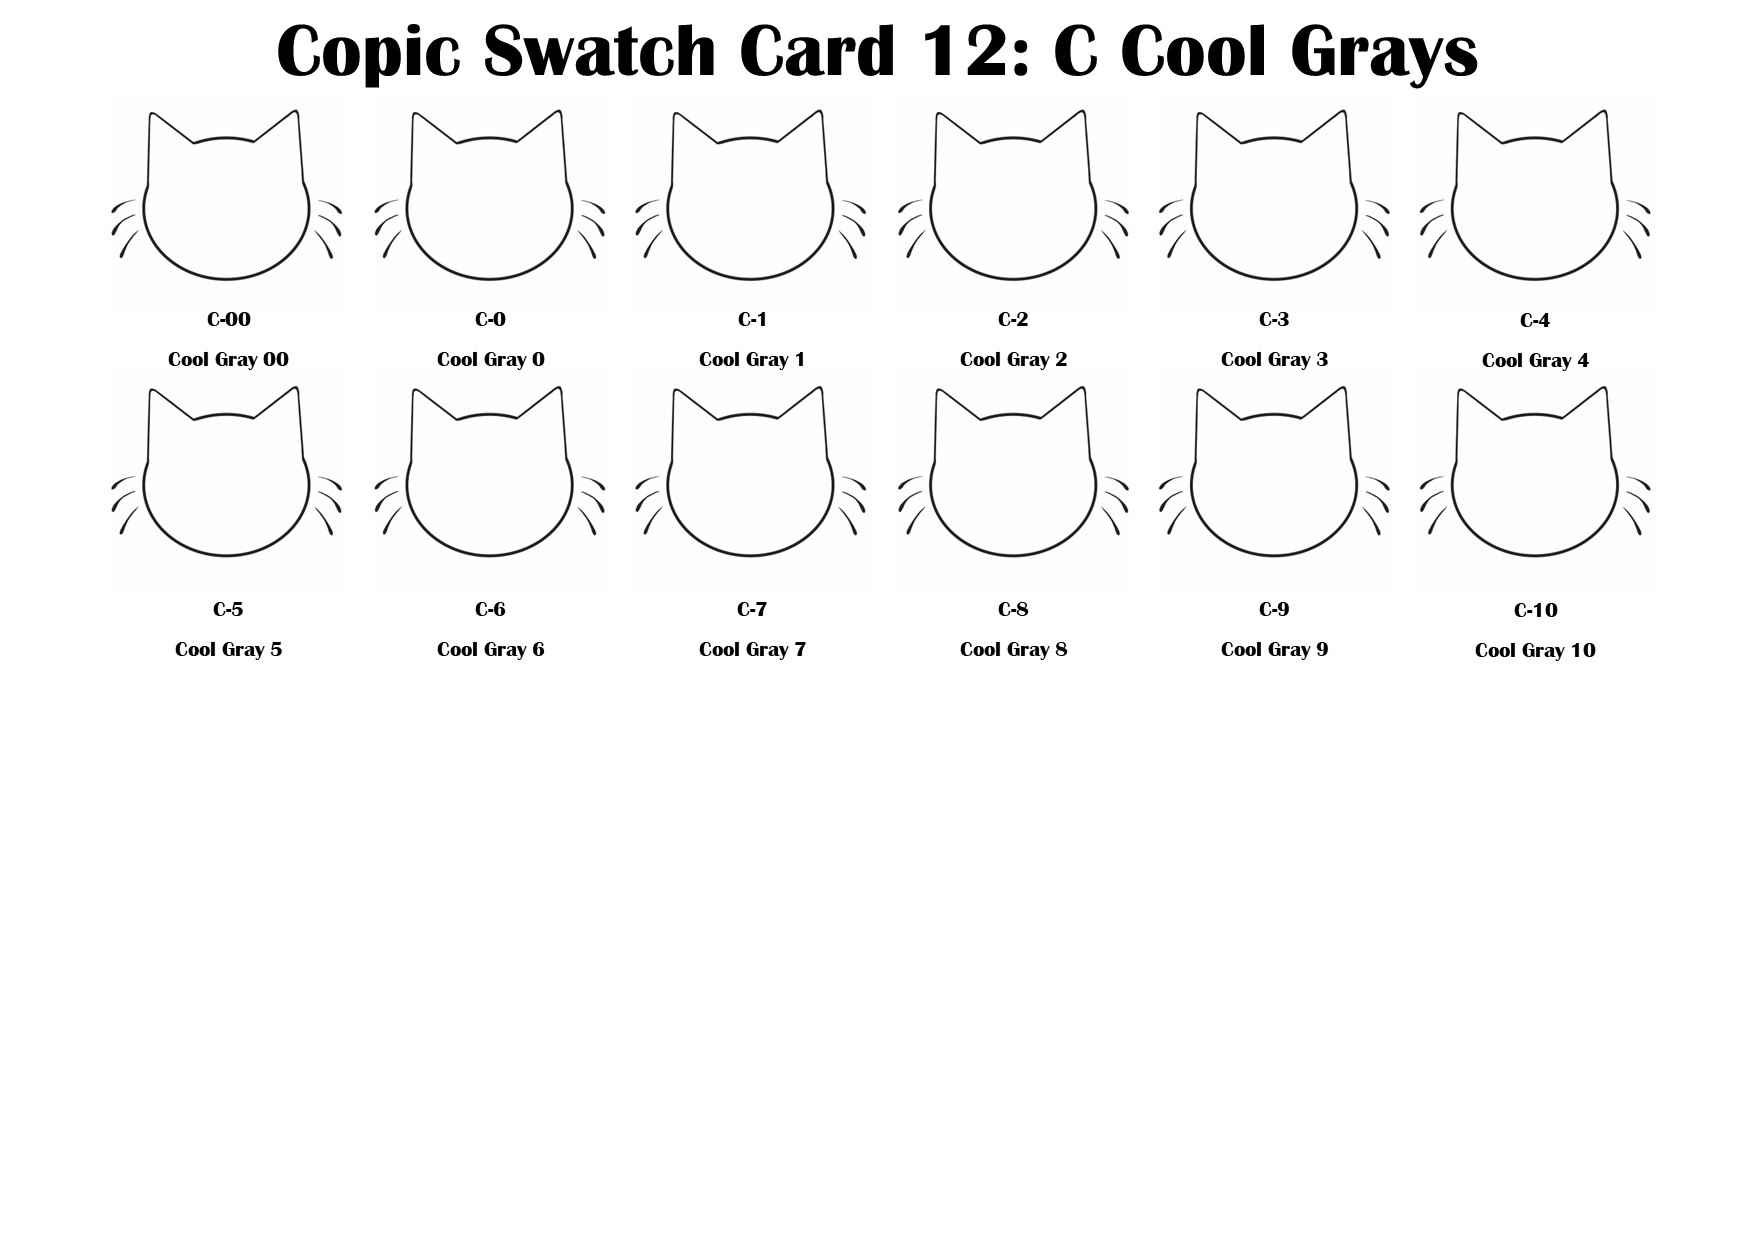
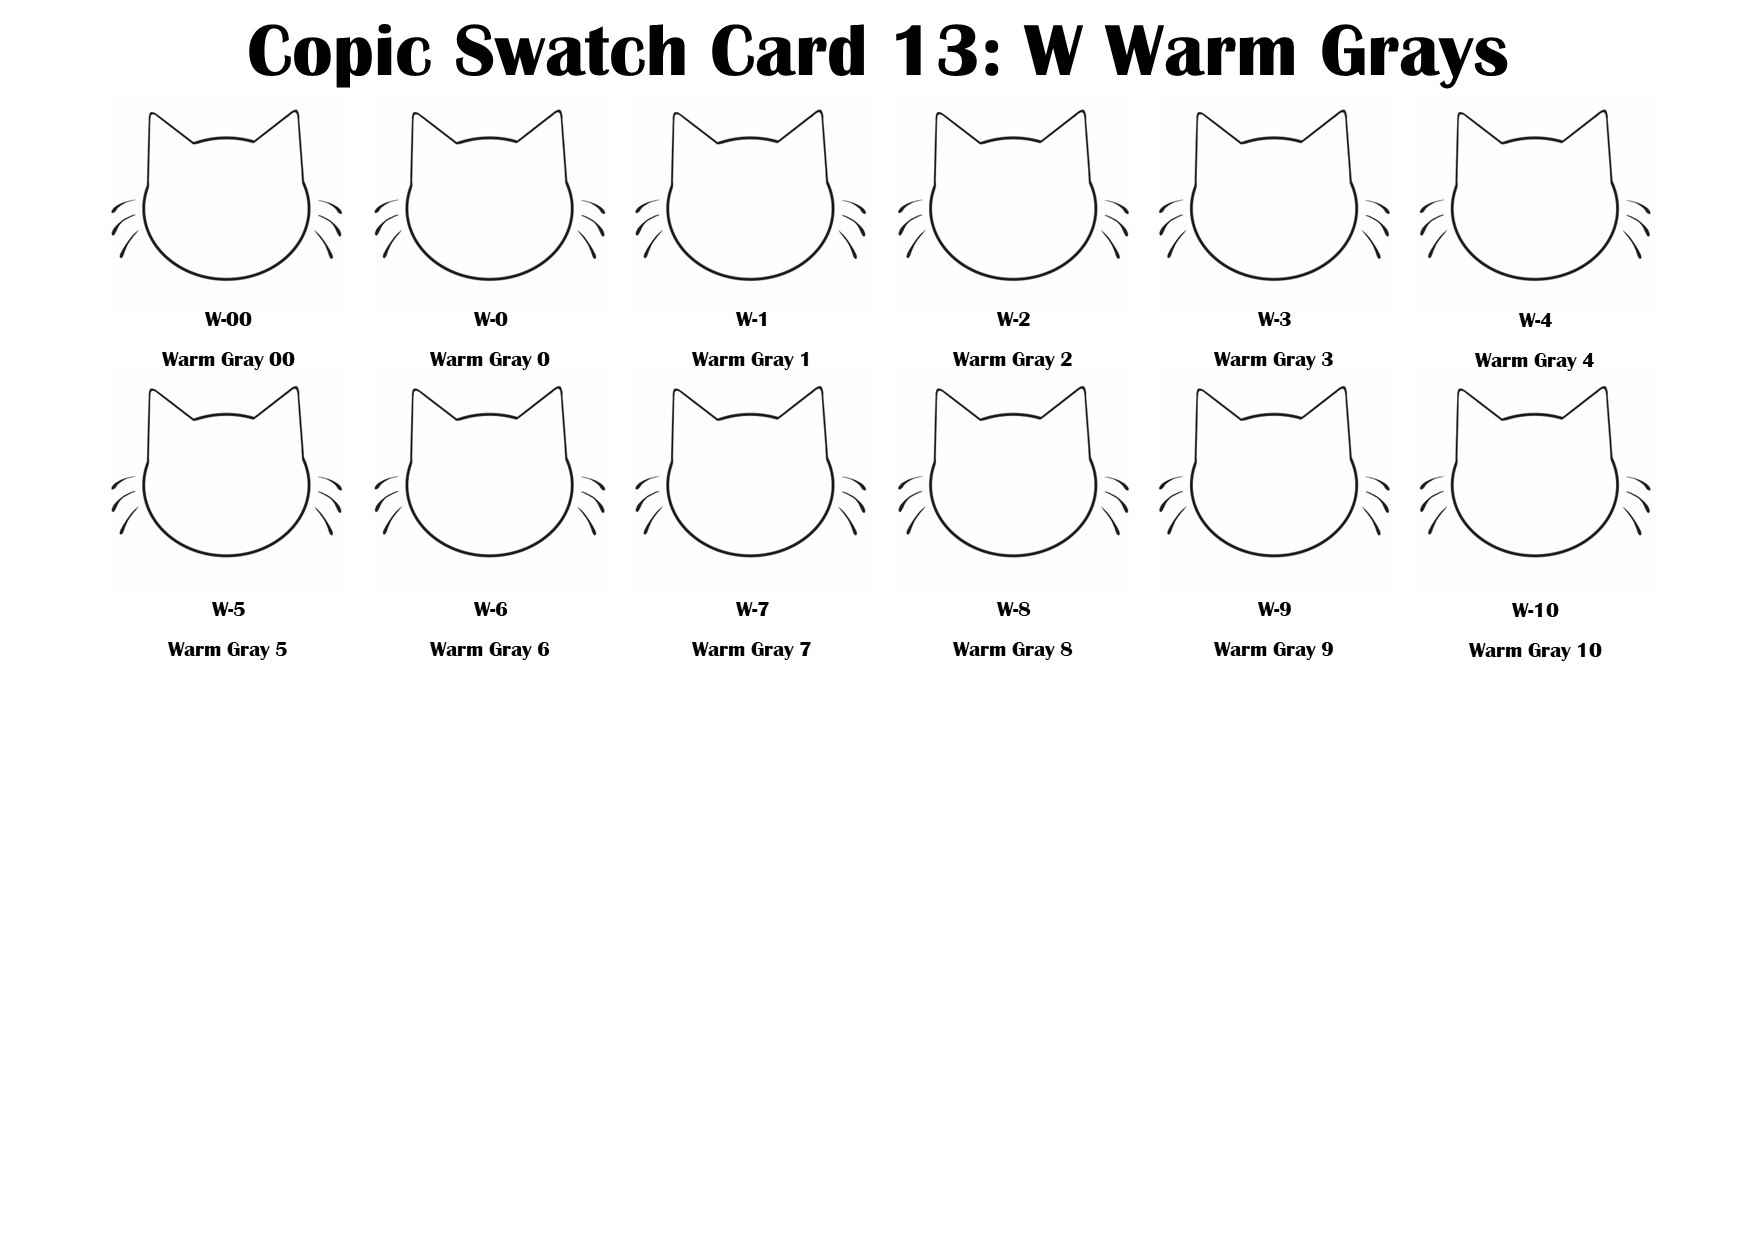
Swatch cards are a great way to test out new art supplies. Swatching refers to testing an art supply on a dedicated piece of paper. A swatch card is an essential tool for artists. Keeping a swatch card can help an artist quickly find specific colours and keep track of how the art supply fades once it dries. Copic Markers make the swatching process easy, with each marker having both a colour name and code on the barrel or cap ends. It is recommended that swatch cards should be printed on good quality paper, to prevent bleed-through and to showcase the true colour of the marker better. The bare minimum you can use is cardstock, which is affordable and good to practice on. There is a chance that the marker will bleed outward if used on cardstock, so it is recommended to test your paper before printing out your cards. The best papers for Copics are Bristol Board or any paper types that are specifically created for markers. Marker paper can be thin but has a backing that protects against bleeding.
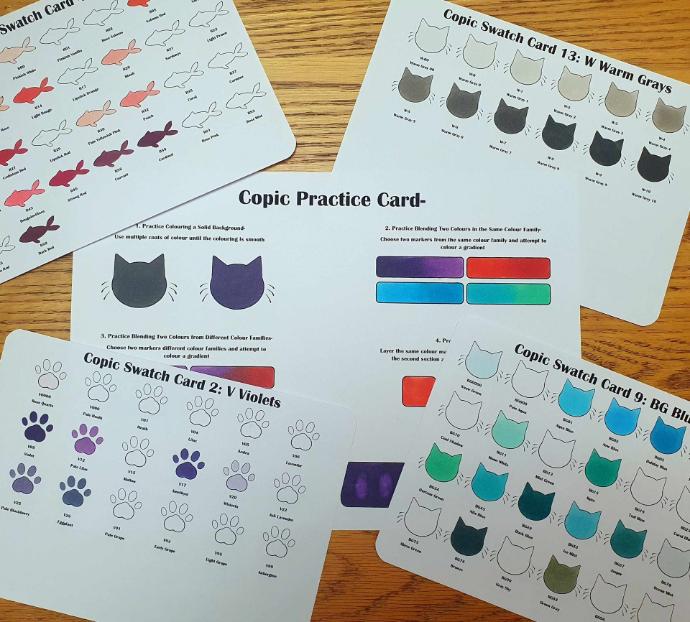
These swatch cards are custom-made, and since we love cats here at Programit, they are right on brand.

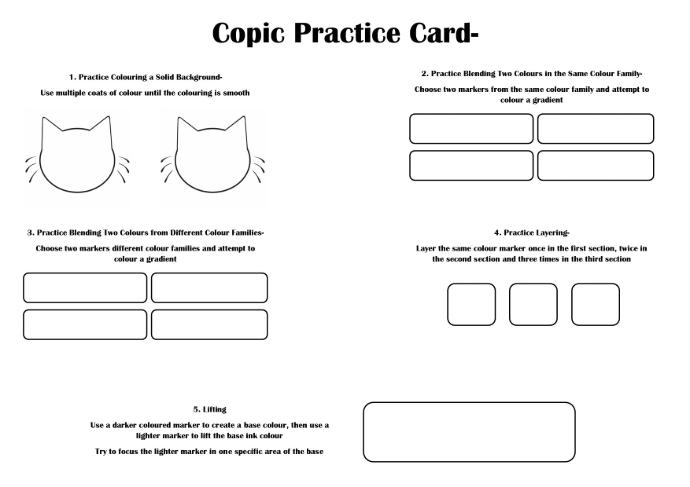
Practice Card with Five Basic Copic Techniques-
1. Practice Colouring a Smooth Background-
To create a solid block of colour, you will need to colour using small circular shapes instead of colouring in lines and stripes. You can layer over the area multiple times until it is flat and smooth. This technique is much easier to learn if you use darker colours.
2. Practice Blending Two Colours in the Same Colour Category-
Blending is the most common technique used in Copic illustrations. To create a gradient blend using markers within the same colour category, first find two markers with codes that start with the same letters. It is easier if you choose markers with numbers in the codes that are not too far apart. Blend inward using the lighter marker, ending the brush strokes in a light flicking motion. Then, using the darker marker, blend in from the other side, only slightly overlapping the first colour you had put down. End the strokes with a flicking motion so that less of the dark ink bleeds over onto the lighter ink. Continue to blend with the lighter marker, colouring in small circles over where the two markers had overlapped. You can continue to repeat this process until you are happy with the results.
3. Practice Blending Two Colours from Different Colour Categories-
This technique will work in practice the same as blending two markers from the same colour category, however, in this case, your colour choices will matter. Choosing two markers from contrasting colour categories will make the blending more difficult, and could create dark shadowing where the colours overlap. This is also easier if you choose colours with a similar tone. The Practice Card includes space to test four different colour combinations.
4. Practice Layering-
The same marker can be layered multiple times to create a darker shade of the colour. By going over the first square once, you will have the base tone. Laying the marker twice or three times will showcase how the tone of a single marker can vary. This is a good technique to keep in mind while shading.
5. Lifting
Lifting is a unique way to create highlights in a marker illustration. First, you need to put down a flat area of a darker colour. The darker this first layer, the more the highlights will stand out. When you have put down this first layer of dark colour, use a much lighter marker of the same colour category and repeatedly cross over the darker layer in a concentrated area. This will pick up the darker ink, creating a highlight. If you stain the end of the lighter marker, simply clean it off on a scrap piece of paper. This technique can take time, and the area in which you use the lighter marker will fade more as the ink dries.
Conclusion-
I hope that you find the swatch cards and tutorials useful. Copic Markers are a popular art supply worldwide, becoming a well-loved tool for artists since their creation in 1987. There are plenty of tutorials on how to use these markers online, however, when I was a teen starting with my first four markers, it was difficult to find a place to start with the overwhelming amount of information available. Hopefully, this guide will make it easier to find a place for beginners to start.
I would recommend these markers to anyone who loves art and is willing to spend the extra bit of money to get something high quality with the potential to last a lifetime with the correct care.